Introduction to DIY Solar Panels
Imagine harnessing the power of the sun to fuel your home, all while reducing your carbon footprint and saving on electricity bills. Sounds complex? Not with DIY solar panels. As interest in sustainable living grows, more homeowners and eco-enthusiasts are turning to do-it-yourself solar projects as a viable way to adopt clean energy.
DIY solar panels, or “solar panel DIY” projects, offer numerous benefits. They provide an opportunity to cut down on energy costs, achieve a degree of energy independence, and contribute to environmental conservation by reducing reliance on fossil fuels. Moreover, advancements in solar technology have made it easier and more affordable for individuals to undertake these projects themselves. According to Helios, the cost of solar panels has decreased significantly, making them accessible to a broader audience.
However, DIY solar installations are not without challenges. They require a good understanding of electrical systems and a commitment to following safety protocols. As EnergySage notes, while smaller systems for RVs or boats might be manageable, powering an entire home can pose significant risks if not done correctly.
This article aims to guide you through the process of setting up your own solar panels, from understanding basic concepts to choosing the right equipment and installation techniques. Whether you’re motivated by cost savings, environmental concerns, or the satisfaction of completing a project yourself, DIY solar panels could be your gateway to a sustainable future.
Basic Concepts Every Beginner Should Know
When you embark on a solar panel DIY project, understanding the fundamental terms and concepts is crucial. Unlike professional installations, a DIY solar panel system allows you to customize and manage your energy needs independently, but it requires a solid grasp of basic electricity principles.
Understanding Key Electrical Concepts
At the core of any solar setup are three key concepts: voltage, current, and power. Voltage is the potential difference that drives electric current through a circuit, while current is the flow of electric charge. Power, measured in watts, is the rate at which energy is used or generated. These concepts are vital when designing your solar system to ensure it meets your energy requirements without overloading or underperforming.
Components of a DIY Solar System
A basic diy solar panel system typically includes:
- Solar Panels: These convert sunlight into electricity.
- Charge Controller: This regulates the voltage and current coming from the solar panels to the battery, preventing overcharging.
- Inverter: This converts the direct current (DC) produced by the panels into alternating current (AC), which is used by most household appliances.
Each component plays a critical role in ensuring your solar panel system operates efficiently and safely.
Essential Tools and Materials
Before diving into your project, gather the necessary tools and materials to streamline the process:
- Multimeter for measuring voltage, current, and resistance
- Wire cutters and strippers for handling electrical wiring
- Drill with bits suitable for metal and wood
- Screwdrivers and wrenches for assembly
- Safety gear, including gloves and goggles
- Mounting hardware specific to your installation type
Having these tools on hand will make your DIY solar panel project more manageable and help you avoid common pitfalls.
Armed with these basic concepts and tools, you’re ready to assess your home’s suitability for solar installation, which we’ll explore in the next section.
Choosing the Right DIY Solar Panel Kit
When you decide to embark on your DIY solar journey, selecting the right kit is crucial to your project’s success. But with so many options on the market, how do you choose the best DIY solar panel kit for your needs? Let’s break it down.
Factors to Consider When Choosing a Kit
First, assess your energy requirements. Are you looking to power a small cabin, or do you need a system robust enough to handle a full-sized home? Understanding your energy needs will guide you in choosing the appropriate wattage for your solar panels.
Next, consider the complexity of the installation. Some kits are designed for beginners, with straightforward instructions and fewer components, while others may require more advanced electrical knowledge. Your comfort level with DIY projects should influence your choice.
Evaluating Kit Features
Many kits come with additional features like battery storage, which can be crucial if you want to store energy for use when the sun isn’t shining. Evaluate whether you need a kit with battery storage add-ons, especially if you live in an area prone to power outages.
Brand reputation and warranty are also important. Look for kits from reputable manufacturers that offer solid warranties. This ensures that you have support if something goes wrong.
Comparison of Popular DIY Solar Kits
| Kit | Wattage | Price | Complexity | Features |
|---|---|---|---|---|
| Renogy 400W Solar Starter Kit | 400W | $599 | Beginner | Includes charge controller, no battery |
| Grape Solar 540W Off-Grid Kit | 540W | $899 | Intermediate | Includes inverter, battery storage optional |
| Eco-Worthy 1200W Solar Kit | 1200W | $1,499 | Advanced | Includes inverter and battery storage |
Each of these kits offers unique features tailored to different needs and budgets, allowing you to find the best DIY solar kits that suit your specific requirements.
For those seeking expert guidance and a wide selection of solar panel kits, Renewable Energy Nexus provides a comprehensive range of options. Whether you need flexible portable panels or robust systems for larger applications, their offerings can accommodate diverse DIY requirements.
With the right kit, you’ll be well on your way to harnessing solar energy effectively. Next, we’ll explore how to maximize your system’s efficiency with battery storage options.
Exploring Battery Storage for Better Efficiency
Imagine being able to use the solar energy your panels generate not just during the day but also at night. That’s the magic of diy solar panels with battery storage. By integrating batteries into your solar setup, you can store excess energy produced during sunny hours and use it when the sun isn’t shining, maximizing your energy independence and efficiency.
Comparing Battery Technologies
When it comes to solar panel battery storage, choosing the right technology is crucial. The two most common types are lead-acid and lithium-ion batteries. Each has distinct advantages and disadvantages.
Lead-Acid Batteries
Lead-acid batteries are the traditional choice for solar storage. They are reliable and cost-effective but require regular maintenance. Their lifespan is shorter compared to other technologies, but they are a solid choice for off-grid systems or backup storage.
- Pros: Affordable, reliable, and easy to recycle.
- Cons: Require maintenance, installation limitations, and shorter lifespan.
Lithium-Ion Batteries
Lithium-ion batteries are gaining popularity due to their high energy density and longer lifespan. They require little maintenance and can store more energy in a smaller space, making them ideal for residential installations.
- Pros: High energy density, long lifespan, and low maintenance.
- Cons: Higher upfront costs and potential thermal risks if not installed properly.
For a detailed comparison of these battery types, Solar Reviews provides an in-depth look at their characteristics and suitability for different solar systems.
Safety Tips for Battery Handling
Safety is paramount when dealing with batteries. Here are some essential tips:
- Wear protective gear, such as gloves and goggles, to prevent accidents.
- Ensure that connections are tight and secure to avoid short circuits.
- Store batteries in a cool, dry place away from direct sunlight to prevent degradation.
- Regularly inspect batteries for signs of damage or wear and replace them if necessary.
For more safety guidelines, refer to Bioenno Power’s guide on battery storage best practices.
Best Practices for Storing Solar Energy
Efficient energy storage can significantly reduce utility costs. Consider these best practices:
- Invest in a quality battery charger with overcharge protection to extend battery life.
- Implement a monitoring system to track battery performance and optimize usage.
- Use voltage cutoff devices to prevent over-discharging, which can damage batteries.
By following these practices, you can ensure that your solar panel battery storage system serves you efficiently, providing power when you need it most. Now that you understand how to enhance your solar setup with batteries, let’s move on to preparing your home for an effective installation.
Preparing Your Home for an Effective Installation
Before diving into your DIY solar panel installation, it’s crucial to assess whether your home is ready for this sustainable upgrade. Sounds complex? Let’s break it down step by step to ensure a smooth transition to solar energy.
Assessing Roof Suitability
The first step in determining if your home is suitable for a diy solar panel installation is to evaluate the condition of your roof. Solar panels are most effective on roofs made of durable materials like asphalt shingles, metal, or concrete tile. If your roof is nearing the end of its lifespan, consider replacing it before installation to avoid future complications, as solar panels have a long life expectancy of up to 40 years.
Additionally, the orientation and angle of your roof play a significant role in solar efficiency. Ideally, solar panels should face south to capture maximum sunlight. A roof angle between 15 and 40 degrees is optimal for most locations. Use tools like Google’s Project Sunroof to analyze your roof’s solar potential.
Understanding Shading and Sunlight
Shading from trees, chimneys, or nearby buildings can significantly impact the efficiency of your solar panels. Conduct a shading analysis to identify any potential obstructions. Remember, even partial shading can reduce the output of your solar system, so trimming trees or relocating obstructions might be necessary.
Legal and Permitting Requirements
One of the most common questions is, “Can you DIY install solar panels legally?” The answer depends on local regulations. Before proceeding, check with your local Authority Having Jurisdiction (AHJ) to understand the permitting process. This includes obtaining electrical and structural permits to ensure compliance with safety standards and building codes. Some areas may require approvals from your Homeowners Association (HOA) or utility company.
For detailed guidance on the permitting process, visit Solar Wholesale for comprehensive steps and tips.
Designing Your Solar Panel System
Designing a diy solar panel system involves calculating your household’s energy consumption to determine the size of the system needed. Start by reviewing your past electricity bills to estimate your average monthly usage. This will guide you in selecting the appropriate number and size of panels.
Consider whether you want a small-scale system to supplement your energy needs or a larger setup to cover most of your consumption. For a more accurate design, consult online calculators or seek advice from solar professionals.
Pre-Installation Checklist
- Evaluate roof material and condition.
- Check roof orientation and angle.
- Perform a shading analysis.
- Verify local permitting requirements.
- Calculate household energy consumption.
- Decide on system scale based on energy needs.
By thoroughly preparing your home and understanding these key factors, you’ll set a strong foundation for a successful solar panel installation. Next, we’ll explore the step-by-step process of installing your solar panels safely and effectively.
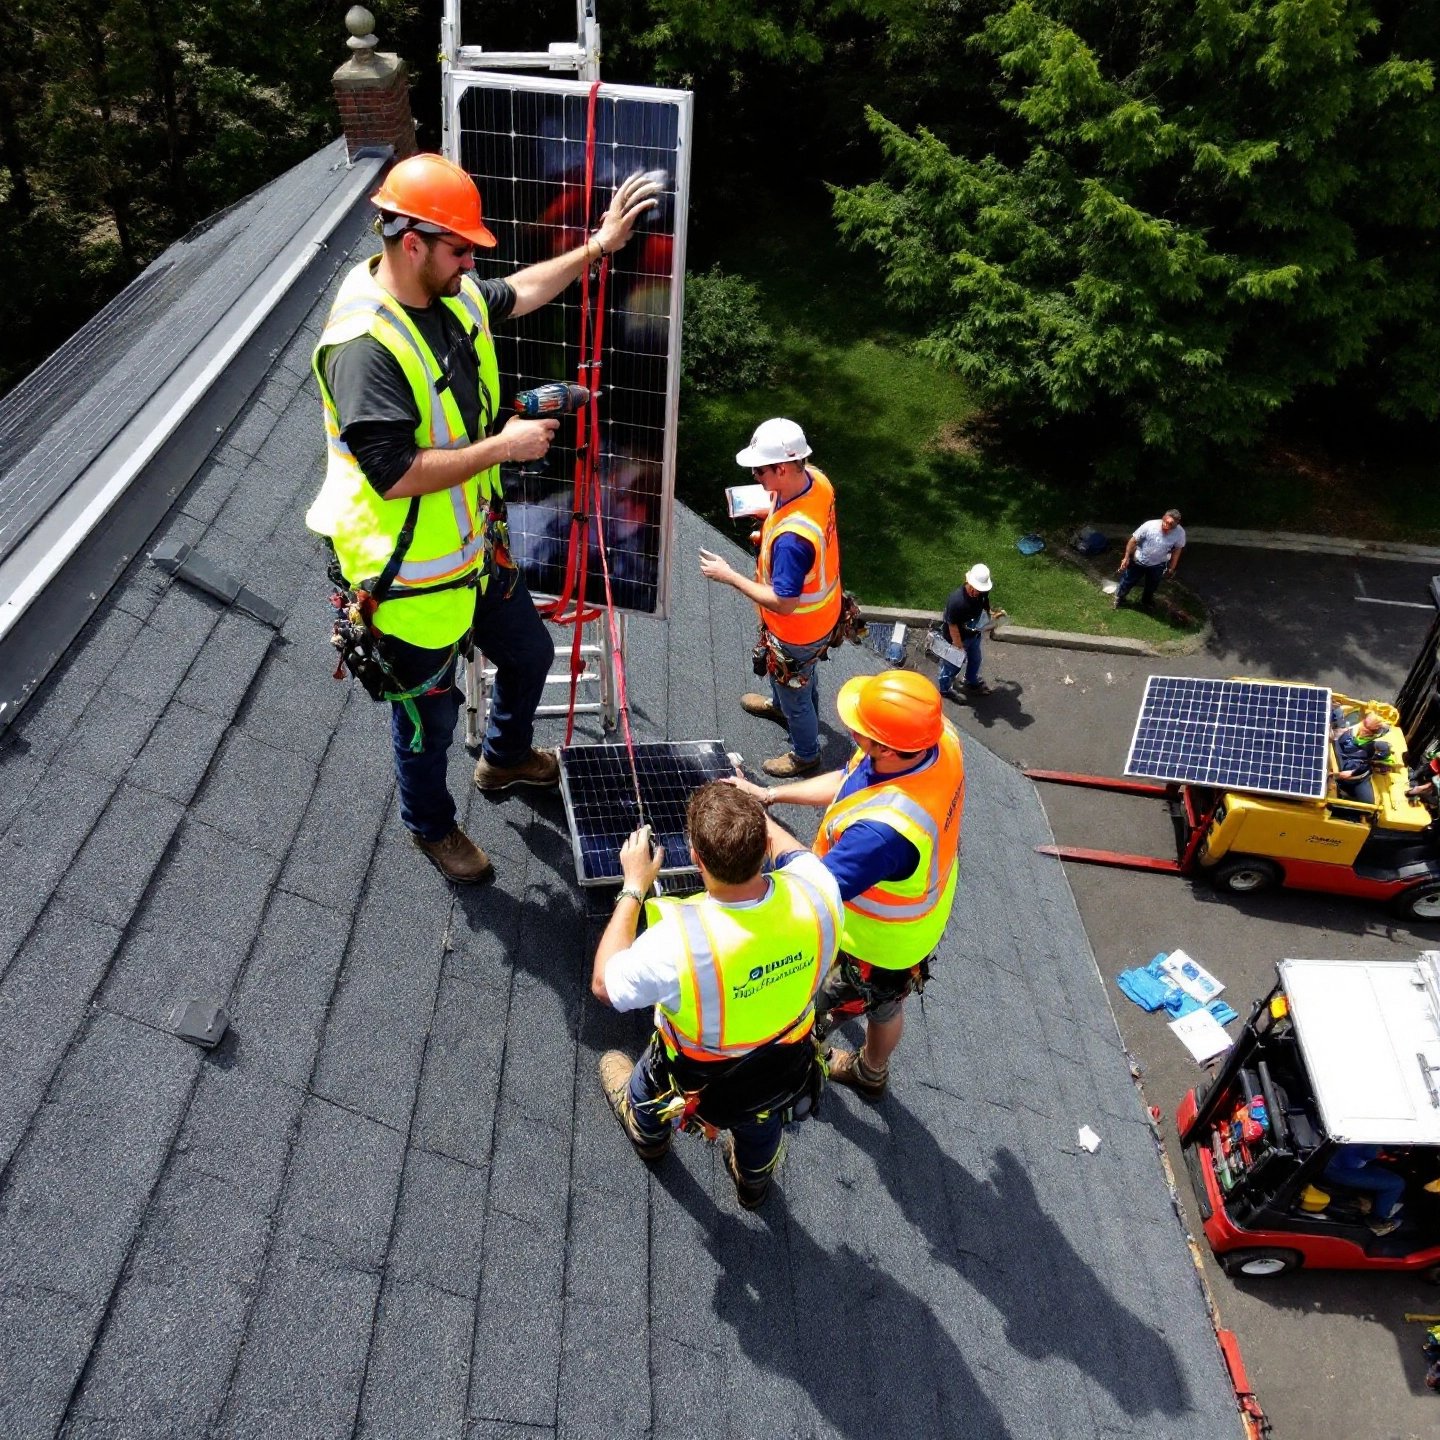
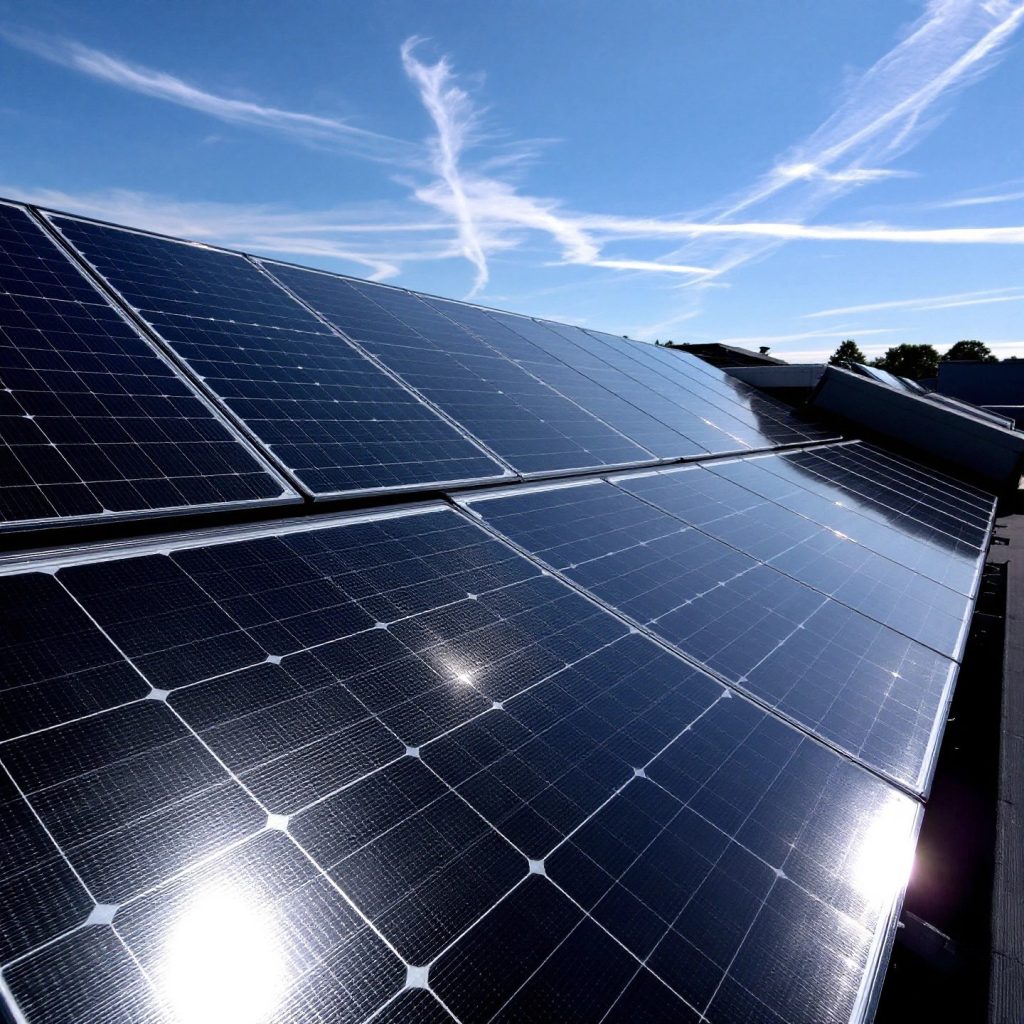
Step by Step Roof Setup and Safety Tips
When you consider a diy solar panel installation on your roof, it’s important to approach the task methodically to ensure both safety and efficiency. Imagine transforming your rooftop into a sustainable energy powerhouse. Sounds intriguing? Let’s break down the process into manageable steps.
Planning and Preparation
Begin by thoroughly assessing your roof. You’ll want to ensure it’s structurally sound and capable of supporting the additional weight of solar panels. For optimal solar panel roof setup, a south-facing roof with a pitch between 30 and 45 degrees is ideal, as noted by This Old House. Clear any obstructions and verify that your roof is free from excessive shading to maximize sunlight exposure.
Safety First
Safety is paramount when working on rooftops. Equip yourself with the necessary safety gear, including a harness, non-slip footwear, and a hard hat. According to Renogy, it’s crucial to cover solar panels with opaque material during installation to prevent electrical shock from generated current.
Installation Steps
1. Mark and Drill: Locate the roof rafters using a stud finder or by measuring from the roof’s edge. Mark these points to drill pilot holes for the stanchions, ensuring they align correctly to provide robust support for the panels.
2. Install Stanchions: Secure the stanchions to the rafters with lag bolts. Use a roofing sealant around the holes and flashing to maintain a watertight seal, preventing leaks.
3. Attach Racking: Fix the aluminum rails to the stanchions using stainless steel bolts. Ensure the rails are square and level to facilitate proper panel alignment.
4. Run Electrical Conduit: Before mounting the panels, run the necessary conduit and wiring to connect the panels to your home’s electrical system. A licensed electrician should handle this step to comply with local codes.
5. Mount Solar Panels: Carefully lift and secure each panel to the racking system. Use clips and clamps as specified by the manufacturer to hold the panels firmly in place.
Sealing and Final Checks
Once installation is complete, double-check all connections to ensure they are tight and secure. Verify that the system is grounded properly to prevent electrical hazards. Conduct a thorough inspection to ensure compliance with local building codes and permits, which is vital for avoiding legal issues and ensuring safety.
By following these steps and prioritizing safety, your DIY solar panel installation will be both effective and secure. With your panels now in place, you can look forward to harnessing the sun’s energy efficiently. As we move forward, we’ll explore alternative mounting techniques that might better suit your needs.
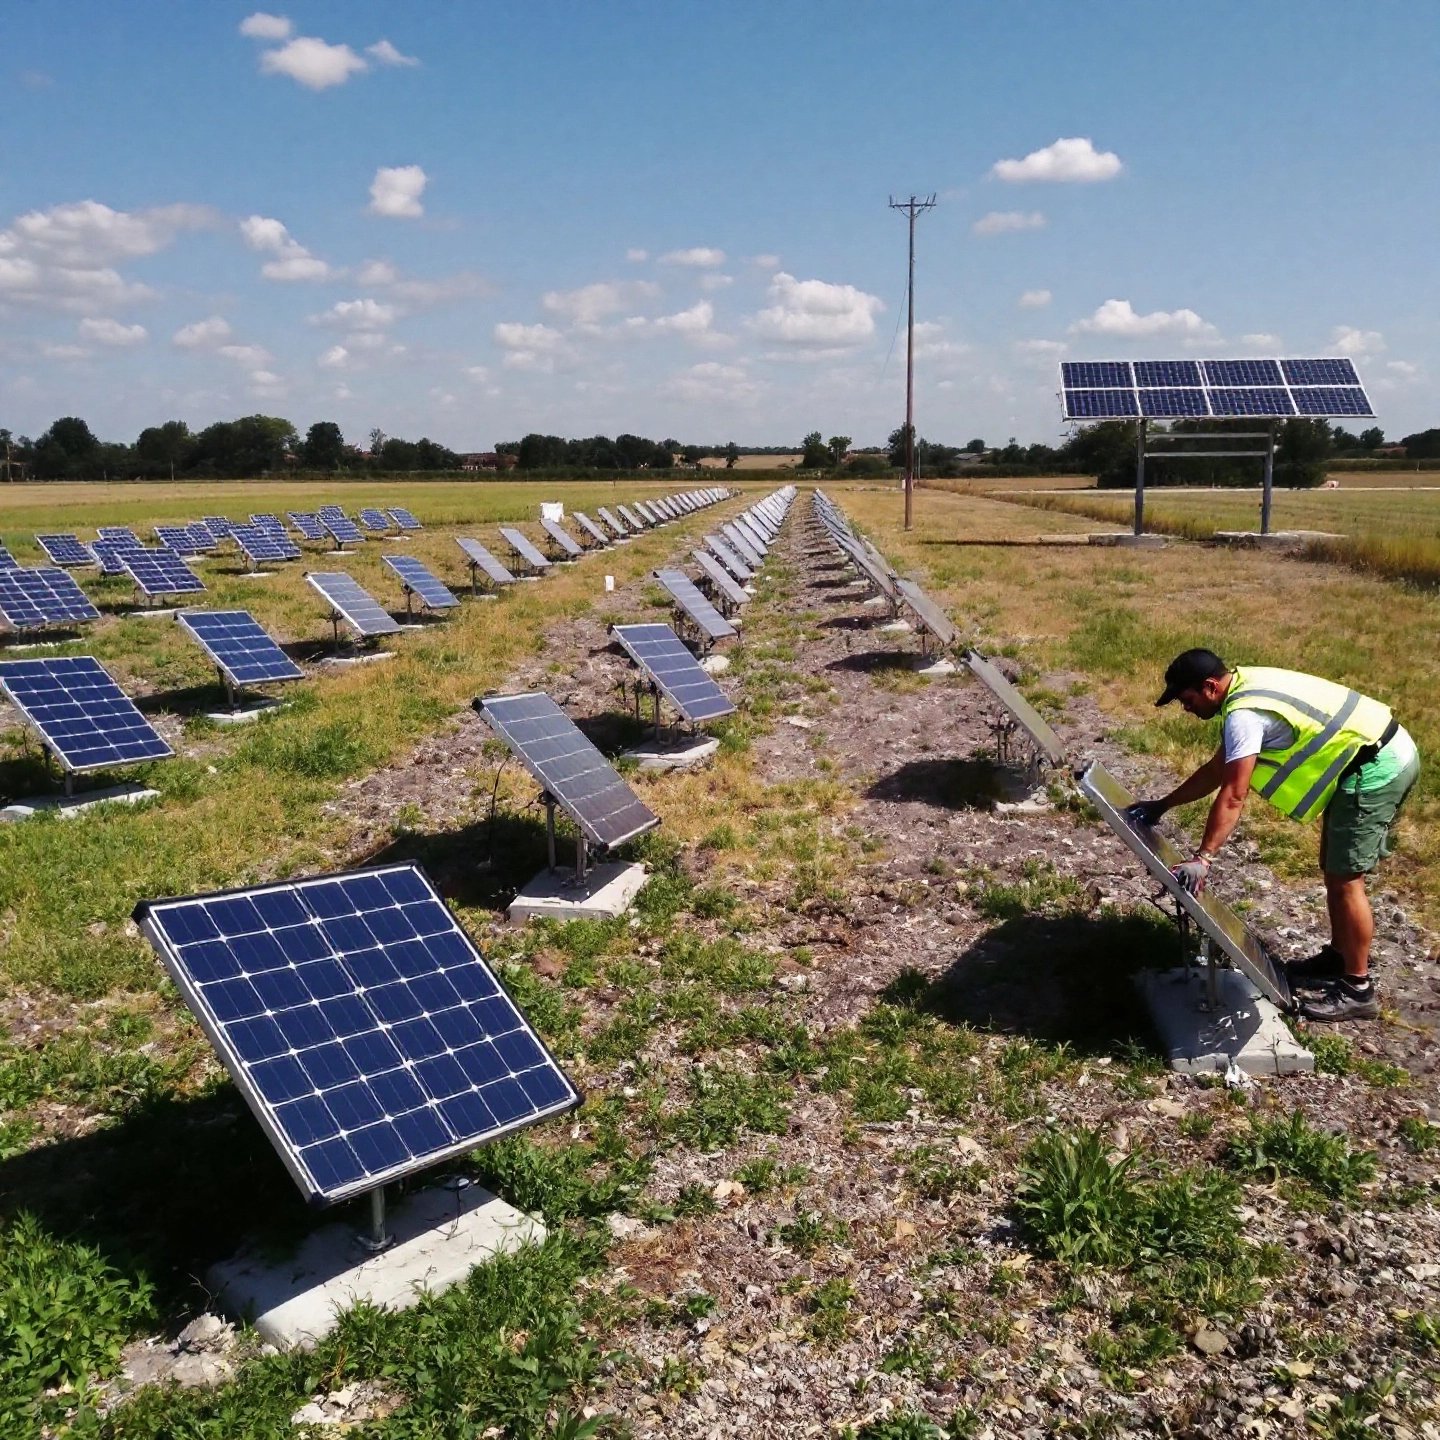
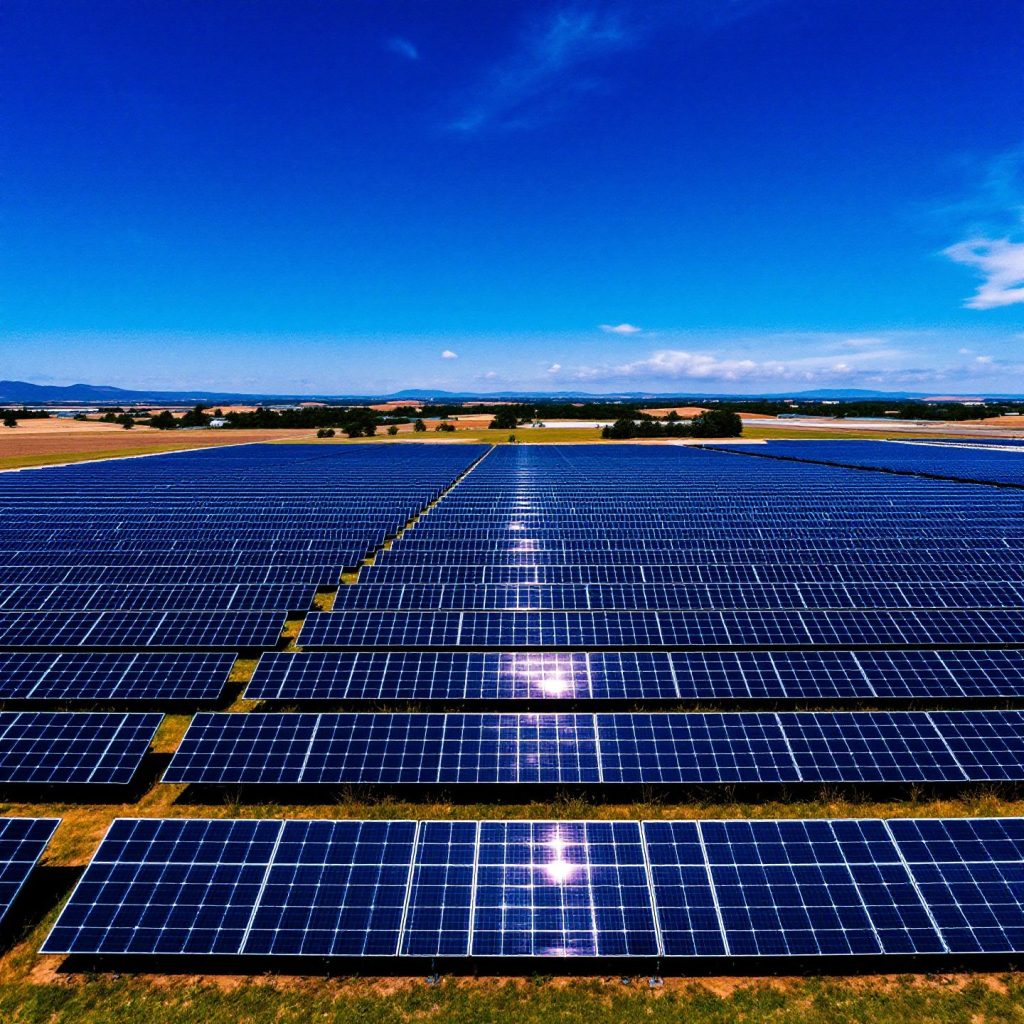
Ground and Pole Mount Techniques for Stability
When considering DIY solar panel installations, the choice between roof-mounted and ground-mounted systems is pivotal. Imagine having the flexibility to position your panels at the perfect angle, free from the constraints of roof orientation. Sounds appealing? Let’s explore why diy solar panel ground mounts might be the better option for you.
Advantages of Ground-Mounted Systems
Ground-mounted solar panels offer several benefits over their rooftop counterparts. Firstly, they allow for optimal panel placement, ensuring maximum sunlight exposure throughout the day. This is particularly advantageous if your roof is shaded or not oriented southward. Additionally, ground mounts are more accessible for maintenance, making it easier to clean panels or remove snow and debris, enhancing their efficiency.
Moreover, ground-mounted systems can be expanded more easily than roof systems. As your energy needs grow, adding more panels to a ground array is straightforward, provided you have the space. This scalability can be a significant advantage for homeowners planning future expansions.
Comparing Ground and Pole Mounts
There are two primary types of ground-mounted systems: standard ground mounts and solar panel pole mount diy systems. Here’s how they compare:
| Feature | Standard Ground Mount | Pole Mount |
|---|---|---|
| Cost | Lower due to simpler installation | Higher due to tracking systems |
| Space Requirements | Requires more ground space | Less ground space needed |
| Energy Efficiency | Fixed angle, less efficient | Tracking increases efficiency by up to 25% |
| Maintenance | Less frequent | Requires regular maintenance |
Step-by-Step Installation Guide
For those ready to dive into a DIY installation, here’s a simplified guide to setting up a ground-mounted system:
- Site Assessment: Choose a location with ample sunlight and minimal shading. Ensure the ground is stable and free from obstructions.
- Foundation Preparation: Excavate holes for the foundation. The depth and width depend on your soil type and the size of your system. Use concrete to secure the mounting posts.
- Install Mounting Structure: Attach the mounting racks to the posts. Ensure they are level and aligned to optimize sunlight capture.
- Panel Installation: Secure the solar panels to the mounting structure using the appropriate hardware. Ensure all panels are tightly fastened and correctly oriented.
- Electrical Connections: Run wiring from the panels to the inverter and battery storage (if applicable). Ensure all connections are secure and weatherproof.
By following these steps, you can successfully install a ground-mounted solar system that maximizes energy production and meets your household needs. As we transition to the next section, we will explore how to maintain your solar panels to ensure they operate at peak efficiency.
Keeping Your Solar Panels Clean and Maintained
When you invest in a DIY solar panel system, maintaining its efficiency becomes a top priority. Imagine your panels working tirelessly to convert sunlight into energy, only to be hindered by dirt and debris. Sounds frustrating? Regular maintenance is key to ensuring your solar panels perform at their best.
The Importance of Routine Cleaning
Solar panels require minimal upkeep, but regular cleaning can significantly boost their efficiency and lifespan. Dust, bird droppings, and leaves can accumulate over time, reducing the amount of sunlight that reaches the solar cells. According to RatedPower, soiling can cause energy losses of up to 7% annually in some parts of the U.S. and even higher in dusty regions. To avoid these losses, it’s recommended to clean your panels at least once or twice a year, or more frequently if you live in a particularly polluted or dusty area.
DIY Solar Panel Cleaning Methods
For effective diy solar panel cleaning, you can use a variety of methods:
- Manual Cleaning: Use a garden hose and a soft sponge or cloth to gently wash the panels. Avoid abrasive materials that could scratch the surface.
- Deionized Water: This method uses water without minerals, which prevents streaks and residue that attract more dirt.
- Robotic Cleaners: For larger installations, consider robotic cleaners that use microfiber and airflow instead of water, as high-pressure washing can damage panels.
- Special Cleaning Solutions: Products like Solar Panel Wash or diluted vinegar and hydrogen peroxide can help remove stubborn grime without leaving a film.
These methods ensure that your panels remain clean and efficient, maximizing your energy yield.
Monitoring Solar Panel Performance
Beyond cleaning, regular solar panel maintenance includes monitoring their performance to catch any issues early. Tools like solar inverters with built-in monitoring features or standalone monitoring systems can provide valuable insights into your system’s output. By tracking key performance indicators, you can detect dips in efficiency that may indicate a need for cleaning or repairs.
For a comprehensive approach, consider online platforms offered by solar manufacturers or third-party providers. These platforms offer detailed analytics and alerts to help you maintain peak performance. As 8MSolar emphasizes, effective monitoring not only extends the life of your solar panels but also ensures you get the most out of your solar investment.
With these maintenance strategies, you’ll keep your solar panels in top condition, ensuring they continue to provide clean, renewable energy for years to come. Next, we’ll explore ways to upgrade and expand your DIY solar system to meet growing energy needs.
Ways to Upgrade and Expand Your DIY System
Imagine your DIY solar panel system as a living entity, capable of growing and adapting to meet your evolving energy needs. Sounds futuristic? Not at all. With the right strategies, you can effectively upgrade solar panel system components to enhance performance and efficiency.
Incremental Panel Additions
One of the easiest ways to expand your solar system is by adding more panels. This approach works well if you initially installed a smaller system and now require more energy. Before adding panels, ensure your existing inverter can handle the increased load. If not, upgrading to a larger inverter might be necessary.
Consider the layout of your current setup. Ensure there’s adequate space for additional panels, whether on your roof or a ground-mounted system. For those with limited space, high-efficiency panels that generate more power per square foot can be a smart choice.
Upgrading to Higher-Wattage Modules
Another effective strategy is replacing existing panels with higher-wattage modules. This upgrade allows you to increase your system’s output without needing additional space. Higher-wattage panels are particularly beneficial for homeowners with limited installation areas or those looking to maximize energy production without expanding their footprint.
Incorporating Advanced Features
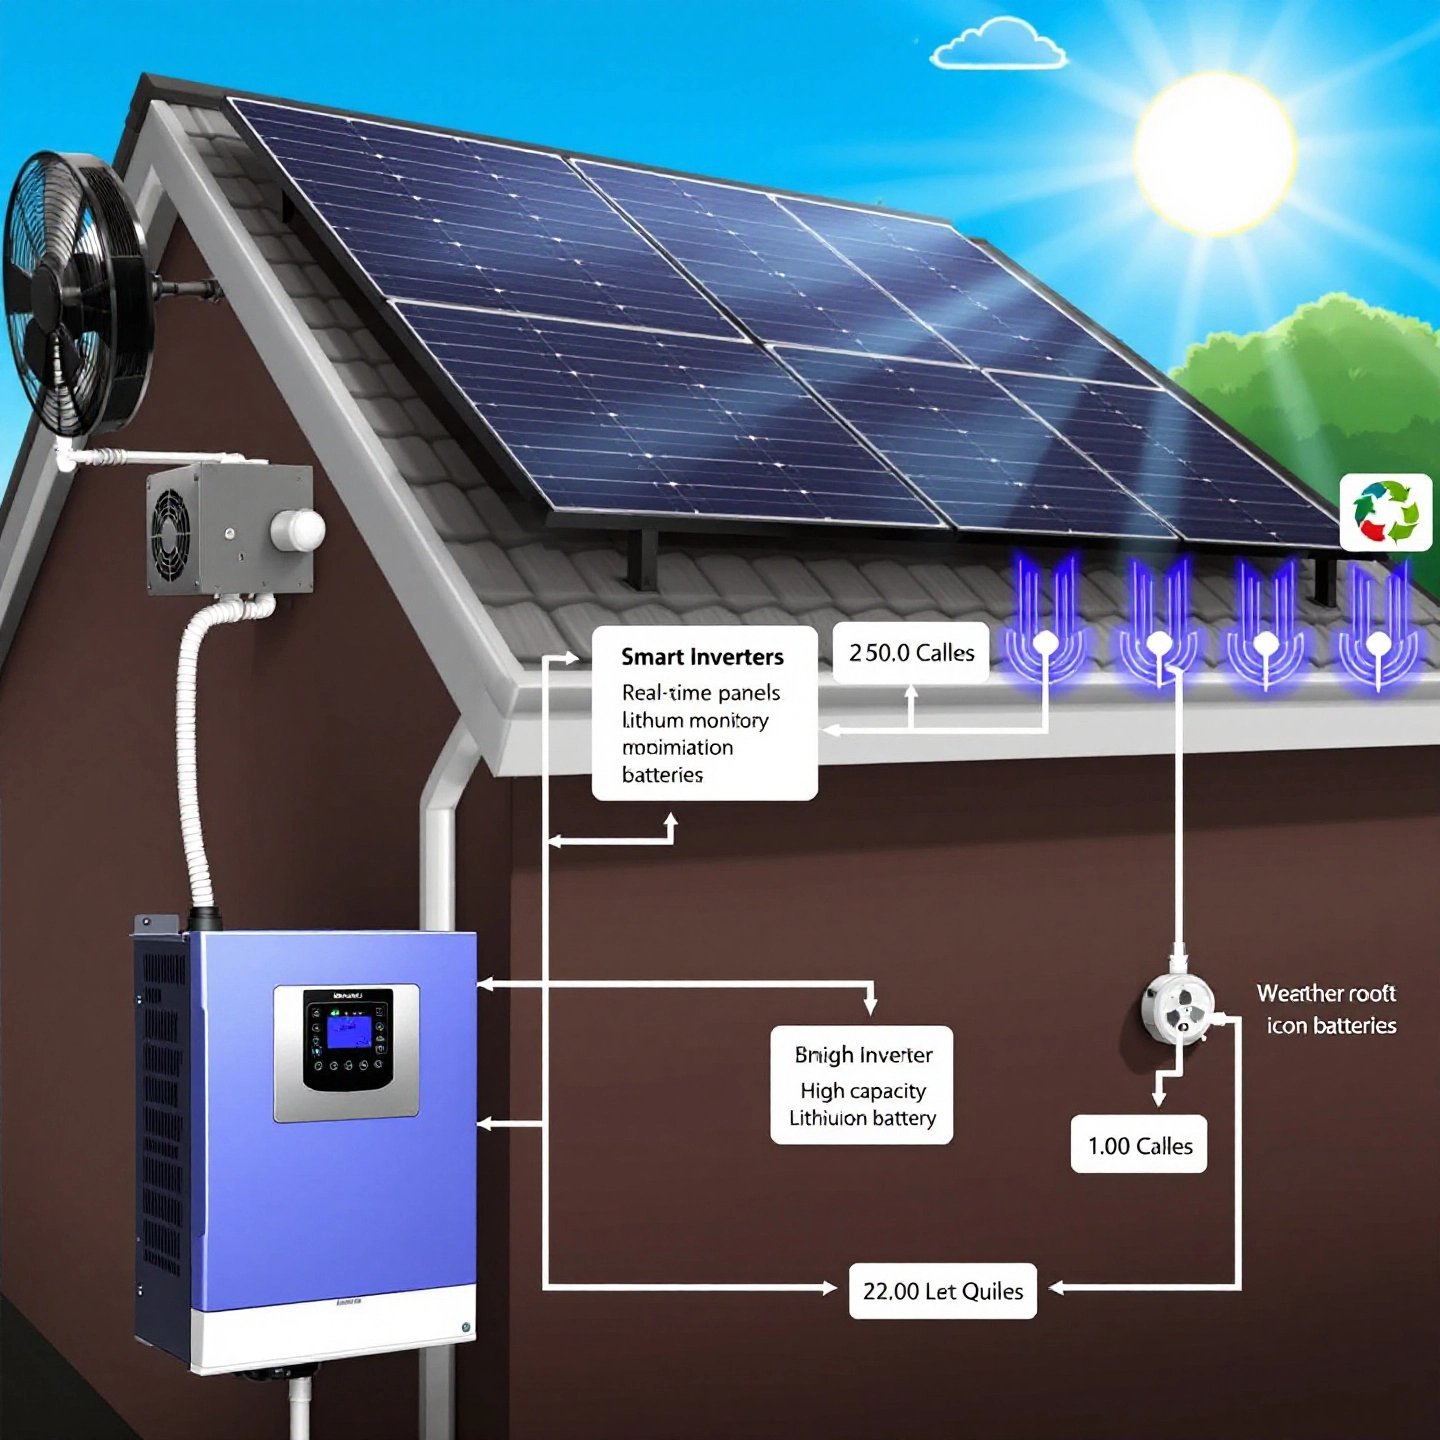
To truly optimize your solar setup, consider integrating advanced technologies like smart inverters, microinverters, or additional battery banks:
- Smart Inverters: These devices optimize energy conversion and provide real-time data on your system’s performance. They can also facilitate remote monitoring and troubleshooting, enhancing overall efficiency.
- Microinverters: Unlike traditional string inverters, microinverters are installed on each panel, allowing for individual panel monitoring and optimization. This setup is ideal for systems with partial shading or complex layouts.
- Additional Battery Banks: Expanding your battery storage capacity ensures you have ample backup power during cloudy days or nighttime. This addition is crucial for off-grid systems or areas with frequent power outages.
For those seeking high-quality components and expert guidance on expanding their solar systems, Renewable Energy Nexus offers a wide range of premium solar panels and accessories. Their expertise in sustainable solutions makes them a trusted partner in achieving your energy goals.
By strategically upgrading and expanding your DIY solar system, you can ensure it continues to meet your energy needs efficiently. As we conclude this guide, let’s recap the key benefits of DIY solar panels and motivate you to take the next step toward a sustainable future.
Conclusion
Imagine transforming your home into a hub of sustainable energy, all while slashing your electricity bills. Sounds appealing? That’s the promise of diy solar panels . As we wrap up this guide, let’s revisit the key benefits and considerations of setting up your own solar system.
Key Benefits of DIY Solar Panels
One of the most compelling advantages of DIY solar panels is cost savings . By taking installation into your own hands, you can significantly reduce labor costs, which typically account for about 10% of a professional solar setup, according to the National Renewable Energy Laboratory . This reduction in upfront costs makes solar energy more accessible to a broader audience, enabling more homeowners to enjoy the financial returns of lower utility bills.
Moreover, environmental benefits cannot be overstated. Every kilowatt-hour of solar electricity generated reduces greenhouse gas emissions, contributing to a cleaner and more sustainable planet. As highlighted by the U.S. Department of Energy , solar energy helps decrease harmful pollutants and conserves water, making it a crucial component in the fight against climate change.
Considerations and Next Steps
While the benefits are clear, it’s important to consider the challenges involved. DIY solar installations require a solid understanding of electrical systems and adherence to safety protocols. Mistakes can lead to safety hazards or inefficiencies, so thorough preparation and research are essential. For many, consulting with professionals or using comprehensive resources like those offered by Renewable Energy Nexus can provide valuable insights and support.
As you embark on your solar journey, remember that your efforts contribute not only to personal savings but also to a broader movement toward renewable energy. By choosing to invest in solar, you’re making a statement about the future you envision—one that prioritizes sustainability and environmental stewardship.
Ready to take the next step? Explore the diverse range of solar products and expert guidance available at Renewable Energy Nexus . Their commitment to quality and innovation ensures you have the resources needed to power your home sustainably.
With this guide, you now have the tools and knowledge to harness the power of the sun effectively. Embrace the potential of DIY solar panels and join the growing community of eco-conscious individuals making a positive impact on the planet.
DIY Solar Panels: Frequently Asked Questions
1. Can I make solar panels myself?
Yes, you can build and install solar panels yourself. DIY solar projects allow for customization and cost savings, but require understanding of electrical systems and adherence to safety protocols. Consider consulting resources like Renewable Energy Nexus for guidance.
2. Is it cheaper to build your own solar panels?
Building your own solar panels can be more cost-effective, saving up to 50% on installation costs compared to hiring professionals. However, it requires initial investment in tools and materials, and knowledge of electrical systems.
3. What can a 6000 watt solar panel run?
A 6000-watt solar system can power large appliances such as air conditioners, refrigerators, and multiple electronic devices simultaneously, making it suitable for homes with high energy demands.
4. What is the 20% rule for solar panels?
The 20% rule, or NEC 120% rule, allows solar PV systems to be installed up to 120% of the busbar’s rating. This ensures electrical safety by accommodating additional solar power without overloading the system.
5. Why choose ground-mounted solar panels?
Ground-mounted solar panels offer flexibility in placement, optimal sunlight exposure, and easier maintenance compared to roof installations. They are ideal for properties with ample space and can be expanded as energy needs grow.